
Wonder why you are not making sales in your online business? You have been writing tons of articles in the past few months and feel like no one is listening to you. It seems you’re not getting traffic. You already know the importance of blogging but do you really know how to SEO a blog post properly?
I’m going to give you everything you need to know to make your online business a success along with a foolproof checklist to get your conversions rocking! You will see a printable checklist at the bottom.
Let’s get going.
Important Details of the SEO Blog Post Checklist
Many successful online businesses fail, not because of laziness, but from the lack of being consistent and have become uninvolved with their SEO (search engine optimization) metric strategies. They think they have tons of traffic and so they stop doing everything they were doing at the beginning that made them so successful.
The thing is, most SEO metrics don’t change a whole lot and they are not going away. Why would you not want to have consistent quality content? This is precisely what your visitors want. Meta titles and meta descriptions, and internal links for example, have always stayed the same. It makes absolutely no sense to deviate away from these practices.
Stay consistent and do what Google wants you to do to rank in their search engine.
Tasks You Need to do BEFORE You Post
Let’s break this down first into 2 sections:
- Research
- Write
Research
1) Topic Idea: When you write a blog post, you need a topic. This is not your keyword. The easiest way to do this is to know what your niche is about.
Let’s say your niche is about losing belly fat and so your topic can be belly busting foods.
2) Keyword Research:
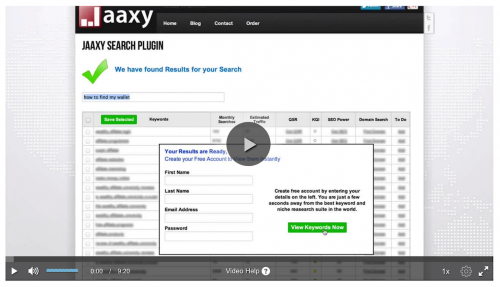
Use an advanced and reliable keyword research tool built for internet marketers. There are over 500 million “brand new” search terms that people enter into the search engines.
This means you need to have an advanced keyword tool that can give you precise information for keywords (search terms) on traffic, competition and domain insights.
To get a jump over your competitors, you need to find high traffic and low competitors and the rule I like to use is the 100 – 100 rule, meaning 100 average monthly search volume (traffic) and under 100 QSR (quoted search results – the competition of your keywords).
Do you want to see where I do my keyword research? Go ahead and click in it and try it out for FREE.
3) SERP Competitor Research (search engine result page):
Your online business is always going to having competition so once you come up with your keyword and before you even start to write, you need to know about your competitors.
The best way to do this is to type in your keyword in Google’s search engine. The objective here is to make your blog post stand out to your visitors. You only need to look on the first page as these are your main competitors and it’s pretty much where your visitors will roam to find you.
Follow what they’re doing (no, do not copy their content) but make yours better and a bit different.
Do they use videos, maybe they use step-by-step procedures, or they talk about 7 steps to something. Well, you can go with 5 steps.
The point is, you want your blog post to stand out more than your competitors.
4) Article Research:
So now you have your targeted keyword, you know about your competitors, the next thing you need to do is do your own research to create your own article.
One of the first places I like to go to is Wikipedia, this is like your online encyclopedia and they have a wealth of information to get you going. Depending on your niche, you can go to places like Wikipedia Planet Earth.
Writing Your Blog Post
Creating readable and quality content will take some work but if you already know your niche well, the writing part won’t take long. Write like you’re having a conversation and this will make you more human to your visitors.
1) Write a Catchy Title:
Your catchy title should have a keyword in it because this helps with SEO.This is why you did your keyword research.
Some examples are, ‘Reasons You Didn’t Get….”, “Smart Strategies to …”, “Beginners guide: …”
Mine is “2018 How to SEO A Blog Post – Foolproof Checklist”
2018 makes readers know this is current information, the “How to SEO A Blog Post” is my actual keyword and I found there were 96 average traffic in a month searching for this keyword with only 66 competitors using this keyword. The “Foolproof Checklist” means the checklist is no failure and the foolproof is a bold strong confirmation word.
2) Feature Image:
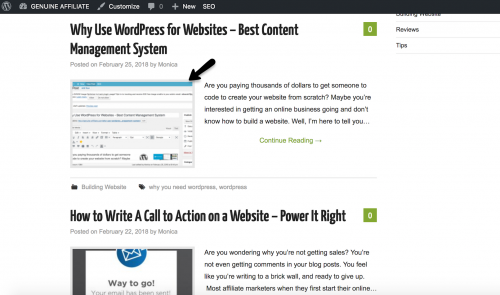
You need to place a feature image that is the visual representation of your blog post. There are numerous benefits to doing this because this default image is automatically used when you post to your social media like Facebook and Google+.
It also improves the look of your blog post making it look professional, giving a pleasant experience to your readers.
There are many places you can go to get free images like in Pixabay and Google search. I use DepositPhotos and pay a monthly fee.
3) Meta Title:
Meta title can be different from your blog post title. The difference from your meta title to your blog post title is the meta title is what shows in the search engine result pages and so you want some control over this.
Sometimes what happens is, your blog post title is too long and it will get cut off when it reaches a certain maximum number of characters.
Let’s say your blog post title is “7 fantastic fancy ways to beautify your wordpress blog post”, your meta title can be “7 ways to beautify your blog post”. This is why you can actually customize your meta title in WordPress (content management system).
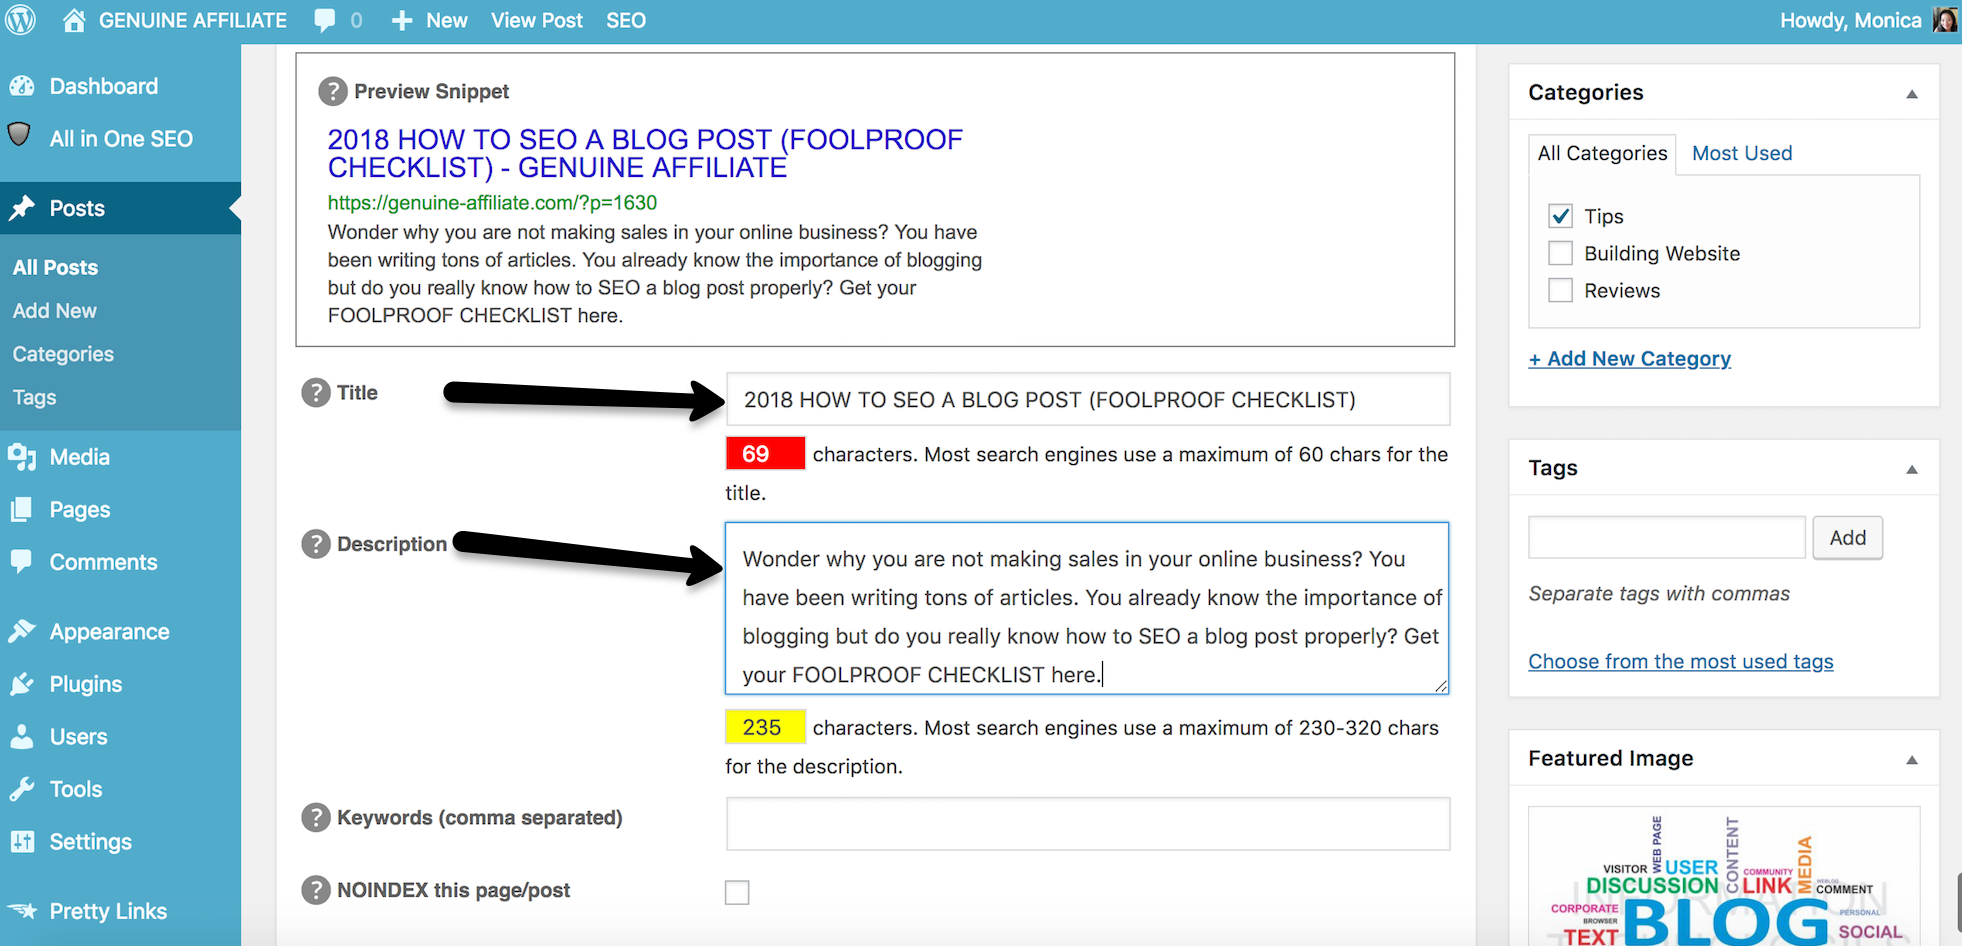
While some still recommend going with the maximum of 60 characters for your meta title, I use around 70 characters.
4) Meta Description:
The meta description is what appears in the search engine result pages. It’s an abstract of your blog post and you want complete control of this.
The description you write influences the visitors decision to either click through your content or read your competitors. Make your description something they will want. It should be exciting, enticing and relevant.
You might have heard Google recently expanded their meta description area to show more, in fact from 155 characters to 320. Do you need to go back and update your description? No, not necessary. The reason I say this is it can be too easy to overstuff it with keywords, something Google does not like to see. Make it natural.
In the image above in Meta Title, you can see I used around 235 characters.
5) Social Meta Image:
This is usually the featured image that appears inside of any social media like Google+ and Facebook. When you post your blog post in social media, that image shows up. Sometimes you may want want to customize your social media image to a brand image which you can easily create in Canva.com. You might want to have your blog post title in the featured image for example.
What happens after that is, people will share it in their social media and get to know your branding. Always be ahead of your competitors.
NOTE: Social meta image size is dependent on Google+ and Facebook dimensions.
6) H2 Subheadings:
H2 and H3 headings are dependant on the theme you choose. H3 can appear quite large.
It’s best to use H2 for sub headings and H3 for sub sub headings.
7) Internal Links:
These are links that go from one page to another page on the same website.
Internal links are very important because Google uses these to determine the relevancy of the pages your blog post links to. They can cross-reference where it’s going to and get a better understanding of your website and give you ranking on that particular page.
For example, you create an internal link on a blog post talking about scuba masks and direct it to your top 10 2018 scuba masks page. Google knows it’s going to read about scuba masks. It’s going to help rank that page. Not only does this help the visitors navigate around your site, Google can have access to your menu setup in your site so it can create an internal sitemap of all your important pages.
Make sure you have internal links with anchor text to let Google know the page it’s linking to is relevant so it can understand the layout of your site.
8) External Link:
An external link is not an affiliate link contrary to what some affiliate marketers think. It’s a raw link in your blog post that goes outside your website to a site that has authority like Wikipedia.
The thing with internal links is that you don’t want Google or your visitors to think you’re hoarding your site. A fine balance is needed with your internal link, external link and a backlink (incoming link) so to do this, create at least one internal link (I usually have 3-6) and one external link on each blog post.
9) Supporting Images:
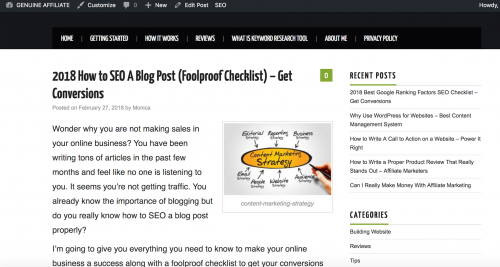
These are smaller relevant images that are placed either on the right or the left side of your blog post to break up the monotony of content.
Make sure to describe the image in the alt text. If you decide to not put in the targeted keyword, instead put in a related keyword that would visually describe the image. This serves 2 purposes:
- It helps the visually impaired who use screen readers to understand what the image is about.
- It helps Google understand what the image is about and believe it or not your image can also get ranked. There are millions of people looking for images to use in their blog posts and when they use your image, you get the link.
10) Embed Video:
You don’t need to incorporate a video in every blog post but when you do embed one, the benefit is the visitors will stay longer in your content and Google will be very happy and increase your ranking.
Of course, videos always break up the boredom of content.
11) Call to Action near the end:
![]()
If you don’t put in at least one call to action, you may as well not be in business.
What is it you want your visitors to do, do you want them to buy, click, do? You can even just ask for questions or comments. Google wants your visitors to engage with you and vise versa. Doing this helps your blog posts get ranking and make sales.
12) Place in the Appropriate Category:
If you have a small amount of blog posts, you can leave them in one category and as you keep writing more you will want to place them into proper categories on either the right or left side depending on your website theme.
For example, a review post can be put in a Review Category.
13) Publish Your Post
Good job! You have done everything you needed to do and you are now ready to publish so go ahead and click that Publish button.
THE ONLY THING LEFT IS MARKETING AND THIS IS HUGELY IMPORTANT!
After You Post – Marketing
You just published your blog post and now you need people to read it. Let’s get into the marketing and I assure you, this will be fun.
1) Fetch as Google (Google Search Console):
This is where you can test to see how Google follows your links and crawls your website. You can create a sitemap here for Google to do a more intense look into your site. The results go into Google’s index. Your indexed blog posts get added into the search engine and you can do this as many times. in fact up to 500 times a month.
Do this for every single post so you can get it indexed into Google’s search engine.
2) Post to Social Media:
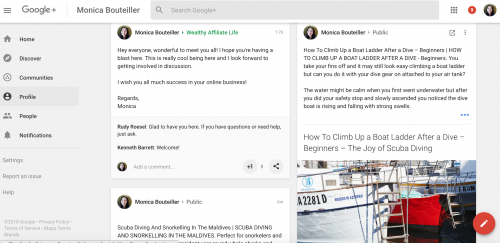
You can post your blog post to any social media but the one I use is Google+ because Google owns it which definitely affects your ranking in the search engine. You need to setup a gmail account to do this.
The way I like to do mine is copy the meta title from my blog post with a hard stop followed by the meta description, then add an editorial about the post.
3) Email Broadcast:
This is optional if you want to do this or not. It doesn’t matter on the the size of your email followers, it can even be one. This number will greatly increase thru your calls to action.
Some of the top 5 reasons why emails really work:
1. Email marketing is inexpensive.
2. Excellent and efficient way to keep your customers informed.
3. Email coupons bring online and in-store sales.
4. Easy to customize and combine into other marketing strategies.
5. Easy to reach mobile customers.
There are email marketing campaign software you can check on like Aweber.
4) Comments and Engagement:
Google wants you to get comments from your visitors. This creates engagement and lead into sales. When you first start your online business, this may not be easy. One of the ways I receive comments to get ranking in search engines on new published blog posts is thru an online community with over 1,000,000 members called Wealthy Affiliate.
When you receive comments always respond back and create engagement. This is also how you create trust with your visitors. You are always the last one to respond.
Conclusion
These are proven steps by successful affiliate marketers, do these and you will make conversions so I hope you will use the the checklist.
Thanks for sticking with me and to get your 2018 SEO Blog Post FOOLPROOF CHECKLIST just CLICK HERE.
If you have any questions or comments, I would really like to hear from you.
Regards,
Monica


hi there,
Great post right there, very insightful, This must the reason my blog is not doing so well in terms of ranking on google.
So if I can do this to may articles and posts, how do you suggest I do on my news blog, after the news breakout I need to be fast enough, can I still do it to such posts or is there a means to automate the entire process, so I can be fast?
Hi Dave, thank you for your great comment and question.
I would add in a video to your news blog and put it in Google+.If you missed doing any steps from my article, you can still do a lot of them like change the Meta Title and description (look at what your competitors are putting in and make it better). Don’t forget to do the Fetch as Google.
The information in this article is awesome for affiliate marketers. I am with WA and I have finished all the training, but I don’t recall any information about the Meta Title and Meta Description. I am definitely going to check all of my posts and make sure that the Meta information is really what I want. Thank you for that.
I also enjoyed the additional information through the links you added and now I have the SEO checklist which is really great.
Great article!
Hi Curtis. you’re welcome and thank you for your comment. I’m glad I was able to help and give you the SEO checklist. The Meta Title and Meta Description is important and you will see it when you edit your post. Scroll down to the end of your post and you will see it there.
Wishing you the very best in your online business.
Regards,
Monica
Hi! I really enjoyed reading this article, for some reason I’ve been reading a lot on SEO lately so I was familiar with quite a bit of what you presented. However, I’m still confused about the social image meta-so are you saying this is a different image than the featured image we set to a post? Is is suppose to be a profile or bio pic? Also I’m not sure how your picture examples are showing up on larger screens but on my chromebook I cannot see the examples-they are too blurry- just thought I would give you a heads up 🙂
Hello, thanks for reading.
The image I’m talking about is your featured image you set for each post. It just needs to be relevant to the post so the reader can have good experiences from it.
Thanks for letting me know about the images not being very clear… I will check them out.